

One of the greatest pleasures in life is a fresh new box of Crayola Crayons. Bring those puppies to school and you'd have to guard them with your life or else the boy next to you would wear down the points before you could say Burnt Sienna.
If you have a pile of crayon nubs sitting in an old Royal Dansk Butter Cookie tin now is the time to give them a second chance at life. Or maybe right now you're saying "I haven't had a tin of crayons in my house for 25 years!" - in that case, hit up your local dollar store and pick up a new box of crayons - you're about to make them way cooler.

Supplies:
- Silicon baking pan or ice cube trays
- Crayons (lots and lots, can be new, broken, whatever you have around)
- Glitter (optional)
- X-acto knife (optional)
- Cookie sheet
- Oven
Preheat your oven to 250 degrees.
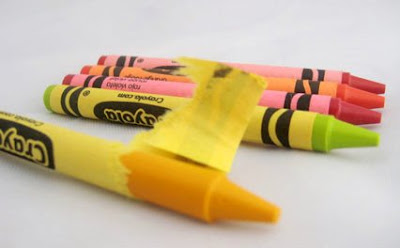
Peel the paper wrappers off your crayons. This is where you can use an X-acto knife by cutting a slip down each wrapper - or just use your fingernails.

Step 2
Now break the crayons into small pieces. The smaller you break the crayons, the easier they will melt. Tip: sort the crayons by color grouping and put them in a plastic baggie. Place the bag on a suitable surface (not your tiled kitchen floor) and use a hammer to smash up the crayons.


Step 3
Now fill up your tray with broken crayon pieces. You want to fill up each hole with as many crayons as possible, but be very careful not to leave any bits hanging over the edges. You can mix colors, keep it in the family (all reds, all blues), or make a solid color. Remember though - lots of different colors = brown. Tip: at this point you can also add a little bit of glitter if you feel so inclined.

Step 4
Put the tray on a cookie sheet and place in the oven. They will soon begin to turn glossy and melt together. You want to keep your eye on them and pull out the tray when they appear to be fully melted (10-15 mins)


Step 5
Pull the tray (still on cookie sheet) from the oven being careful not to spill any melted wax. Set these aside and let cool. As soon as they are cooled off you can pop them out and get to coloring!

No comments:
Post a Comment